You should only create new inspection reports using this method if you have not previously used ADLInspect or ADLForms to carry out a similar inspection for the required property. If you have carried out a similar inspection for the property using ADLInspect refer to Schedule Inspections. If you have filled out a similar inspection using ADLForms refer to Import Existing Inspections.
Note: Entry/Exit Inspection Reports are not similar to Routine Inspection Reports and comments can not be converted from one to the other.
1. |
Open the ADLInspect Manager
|
2. |
Click on the <Create New...> button and select the report type you wish to use
|
3. |
It will prompt you to save the inspection
Choose the folder you wish to save the inspection report in, give the report an appropriate file name and click <Save>
|
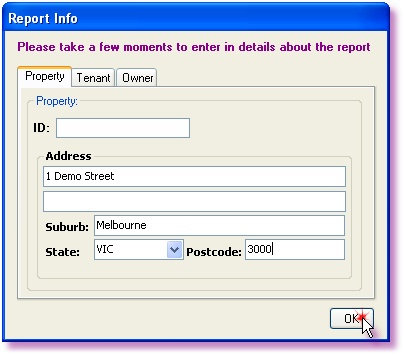
4. |
Before the report is added to your 'Inspection Library' a 'Report Info' window will appear
Enter Property, Tenant & Owner details as required
Note: All the details do not have to be entered to create a report but will assist in the inspection process
|
5. |
The inspection report will now appear in your 'Inspection Library' |
You can now view, edit or send the report to the Mobile Device